
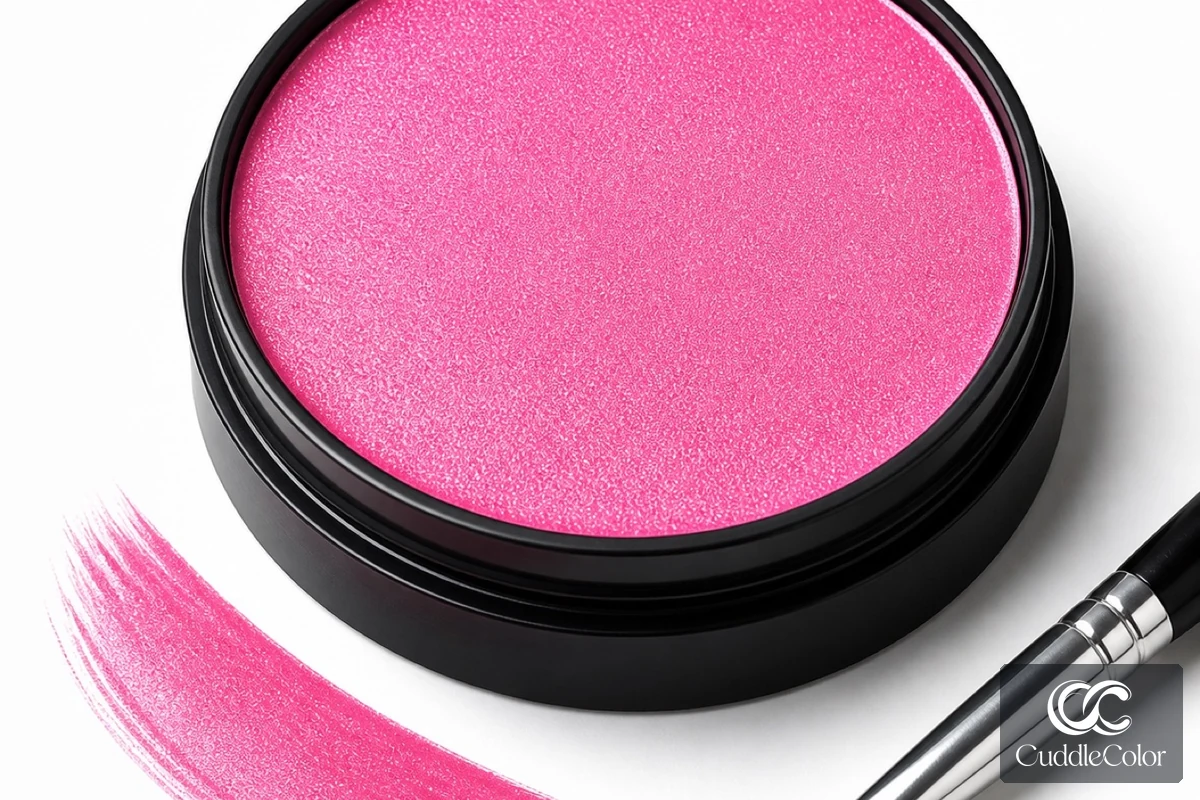
Learning face painting is a rewarding mix of drawing, color, skin safety, and friendly communication. You do not need perfect artistic skills to begin. With the right face paint, a few controlled brush movements, and a short practice routine, you can create clean designs that look confident and feel comfortable.
Quick answer: The best way to learn face painting is to master a small set of repeatable skills first: loading a brush, making consistent lines, blending two colors, placing simple shapes, and working hygienically. Practice one skill at a time, then combine them into beginner designs such as butterflies, flowers, stars, tiger stripes, and simple masks.
1. Start with the Right Face Painting Kit
Good tools make learning easier because they give you predictable color and control. Choose products that are clearly labeled for cosmetic use on skin, not craft paint or marker ink.
- A small palette with white, black, one warm color, one cool color, and a bright accent
- One medium round brush for lines and shapes
- One fine detail brush for dots, outlines, and highlights
- A clean, damp sponge for broad color and soft edges
- Two water cups, paper towels, a mirror, and hair clips or a headband
Beginners can start with a compact face painting kit and add colors as their technique grows. A dedicated brush set is especially helpful when you want thinner lines and more detailed designs.
2. Master the Five Core Face Painting Skills
Instead of memorizing dozens of designs, build a foundation you can reuse in every design.
- Brush loading: Wet the brush, activate the paint, then remove excess water on a paper towel. The brush should hold color without dripping.
- Pressure control: Press gently for thin lines and increase pressure for wider strokes. Release pressure gradually to create tapered ends.
- Line consistency: Practice straight lines, curves, commas, spirals, and teardrops. These marks become petals, whiskers, wings, and decorative accents.
- Color blending: Place two colors side by side on a sponge and test the blend on paper before applying it to skin.
- Shape placement: Use the face as a guide. Keep a focal shape near the cheek, forehead, or temple and leave enough breathing room around the eyes and mouth.
Spend five minutes on each skill before attempting a full design. This focused approach is one of the fastest ways to learn face painting without feeling overwhelmed.
3. Follow a Simple Practice Plan
Short, consistent sessions are more effective than one long session every few weeks. Try this four-week progression:
- Week 1 – control: Fill a page with lines, curves, dots, teardrops, and small leaves. Repeat each mark until the movement feels smooth.
- Week 2 – color: Practice two-color blends, light-to-dark gradients, and three-color combinations. Keep notes about which colors stay bright after drying.
- Week 3 – shapes: Build flowers, stars, hearts, leaves, and simple masks from the marks you practiced.
- Week 4 – timing: Set a timer for five, ten, and fifteen minutes. Simplify the design while keeping one strong focal point.
Take a quick photo after each session. Comparing your brush control and spacing over time helps you see progress that is easy to miss day to day.
4. Learn Color and Design Structure
A successful face paint design is easy to read from a short distance. Start with two contrasting colors and one highlight color. For example, aqua and purple create cool contrast, while pink and blue feel energetic. White is useful for highlights, dots, and making darker colors pop.
Use the rule of three: one main shape, three supporting marks, and a few highlights. This keeps beginner designs balanced. If every area is filled, the face can look crowded and the design becomes harder to apply quickly.
5. Use a Repeatable Design Formula
When you are unsure what to paint, use this five-step formula:
- Base: Add a small sponge blend or one flat color.
- Focal shape: Place a star, flower, butterfly wing, leaf, or abstract mask.
- Linework: Add three to five tapered lines, curls, or teardrops.
- Highlights: Add white dots or a single highlight on the focal shape.
- Clean-up: Check the edges, comfort, and symmetry without overworking the paint.
This formula works for a cheek design, forehead accent, or half mask. It also makes it easier to explain your process to a child or a party guest.
6. Build a Beginner-Friendly Face Painting Routine
Before you paint on a person, set up your station in the same order every time. Put clean water on one side, rinse water on the other, and keep used sponges separate from clean tools. Lay out the colors you plan to use so you do not reach across the face while working.
Begin with a design the person can see in a mirror. Ask about favorite colors and check whether they are comfortable with cheek, forehead, or temple placement. Explain each step in simple language, especially when painting children. A calm artist creates a calmer painting experience.
7. Face Painting Safety and Hygiene
Safety is part of professional face painting, not an optional extra. Always follow the product label and age guidance.
- Use only cosmetic-grade products intended for skin.
- Do not paint over cuts, rashes, inflamed skin, or active skin conditions.
- Keep paint away from the eye waterline and inside the lips.
- Use clean brushes, fresh water, and properly cleaned sponges for every person.
- Patch test a new product when the manufacturer recommends it.
- Stop and remove the paint gently if there is itching, burning, or discomfort.
Read the CuddleColor safety and ingredients guide before practicing on children. At the end of the session, follow the paint maker’s removal instructions, usually starting with lukewarm water and a gentle cleanser. Never scrub irritated skin.
8. Choose the Best First Designs to Learn
Start with designs that use simple marks and can be scaled up or down:
- Butterfly: two wing shapes, a curved body, dots, and teardrop details
- Flower: five petals, a center dot, and two leaves
- Tiger stripes: three curved lines with a highlight
- Star crown: three stars connected by a thin curve
- Fantasy half mask: one blended eye shape with dots and tapered lines
Practice the small version first. Once you can complete it neatly in five minutes, add a second color or a few extra details. If you want inspiration, browse the CuddleColor Facepaint Gallery and simplify any reference into your own shapes.
9. Common Beginner Mistakes
- Using too much water: Thin paint drips and loses coverage. Blot the brush before touching the face.
- Overloading the sponge: Heavy layers crack or smudge. Build color gradually.
- Chasing perfect symmetry: A balanced design matters more than identical sides. Intentional asymmetry can look more dynamic.
- Adding detail too soon: Let the base dry briefly before outlining or highlighting.
- Ignoring comfort: Ask the person to blink, relax, and speak up if anything feels uncomfortable.
10. How Long Does It Take to Learn Face Painting?
Most beginners can learn a few clean designs within two to four weeks of regular practice. Comfort, speed, and advanced blending take longer because they depend on repetition and real faces with different shapes. Aim for steady improvement rather than a perfect result every time. A five-minute practice session today is more valuable than waiting for a free afternoon.
Frequently Asked Questions
What is the best way to learn face painting at home?
Practice on paper first, then use your own cheek or a willing model. Follow a short routine for brush marks, color blends, and one simple design. Photograph each attempt so you can compare your progress.
What face paint should a beginner buy?
Choose cosmetic-grade, water-activated face paint from a reputable supplier. A small palette, one medium brush, one detail brush, and a clean sponge are enough to learn the basics.
Can children learn face painting?
Yes, with adult supervision and products labeled for cosmetic use. Keep designs small, avoid sensitive areas, and let the child control the colors and placement.
Do I need expensive brushes to learn?
No. Clean, appropriately sized brushes with good spring are more important than a large collection. Upgrade when you can explain what a new brush will help you do.
How do I remove face paint safely?
Follow the product instructions. Start with lukewarm water and a gentle cleanser, use light pressure, take extra care near the eyes, and stop if the skin feels irritated.
Keep Practicing and Make Each Design Your Own
Learning face painting becomes easier when you repeat small skills, keep your setup hygienic, and simplify designs before adding detail. Start with one palette, one brush routine, and one five-minute design. Then experiment with colors, symbols, and placement to develop a style that feels like yours.
Ready to practice? Explore CuddleColor’s face painting supplies, review the online courses, and build a small weekly routine. With consistent practice, you can turn clean lines and simple shapes into confident face painting for parties, classrooms, festivals, and creative play.



Leave a comment